

The contours shown here are made of built up posterboard cut to size and glued down with white craft glue. Before the glue was even dry, I spackled up some smooth hillsides, and stuck a couple pebbles in each to break up the monotony. The posterboard is lighter than spackle and gives you a lot more control over the precise slopes for the hills.

After letting the spackle dry overnight, the pebbles had to be glued into place.

For the record, this is the spackled used in this application. Probably don’t need the pre-primed spackle, but it’s what I had handy.
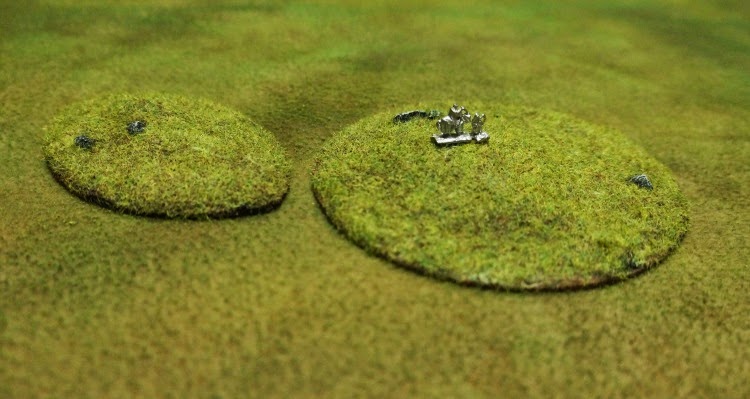 |
| 6mm figure atop the hill for scale |
The next day, I glued down a fine cover of beach sand. A second day of drying and it was on to paint. I painted these the same way as the woods – black primer, white drybrush, drybrush with various shades of brown. Then each base was finished off with a coat of thinned down white glue, covered with static grass and left to dry.

The whole thing was quick and easy enough that I could even toss a water hazard onto the golfing green. This piece was partially a test piece for the water color for the upcoming river project. Bright blue might not be very realistic, but it just looks so darn sharp on the table.

With just a few basic techniques, I now have enough terrain to fill up a table. More than enough to play a game, but the figures haven’t arrived in the mail yet, so I’ve still got time to whip up some rivers and roads…
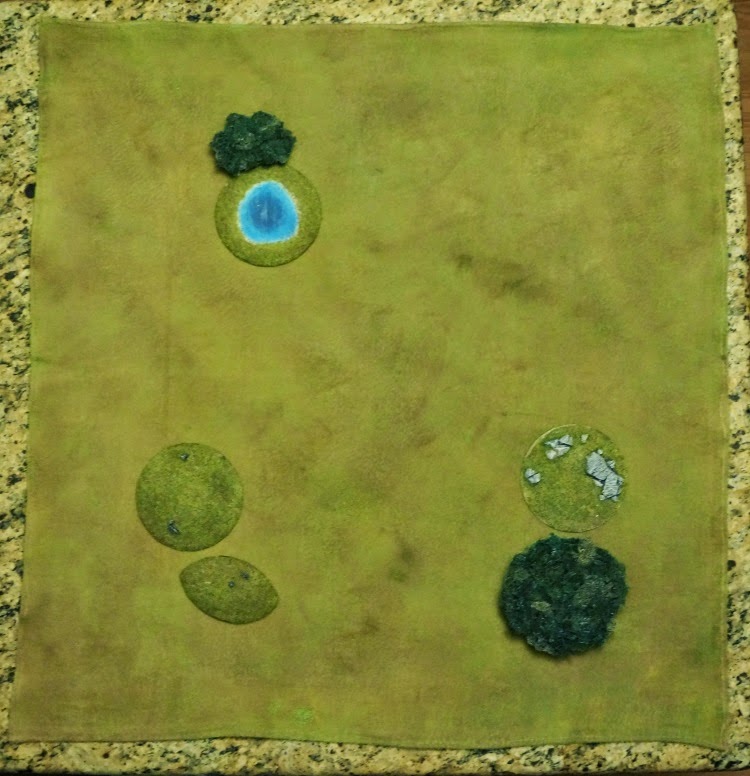 |
| Aerial view of the selection to date |